Introduction
Unica supports push notifications by using the Kumulos SDK, provided in the form of a framework to ease the integration into your iOS, Android or cross platform app. This guide provides an overview of setting up your app with in both your Apple Developer and Firebase Cloud Messaging accounts before detailing the specific integration steps for the appropriate SDK for your project.
The integration is completed by completing the following steps:
-
Configure your app in your Apple Developer account
-
Configure your app in your Firebase Cloud Messaging account
-
Configure your Unica app for APNS and FCM by providing the relevant credentials
-
Select and integrate the appropriate SDK for your selected development platform
Configure your Apple Developer account
Register your bundle identifier and capabilities
In order to publish your app to the App Store you must define a bundle identifier and configure its capabilities to allow push notifications and an app group.
From your Apple Developer account select "Certificates, Identifiers & Profiles" then select "Identifiers" from the left menu. Click the + icon to register your new identifier.
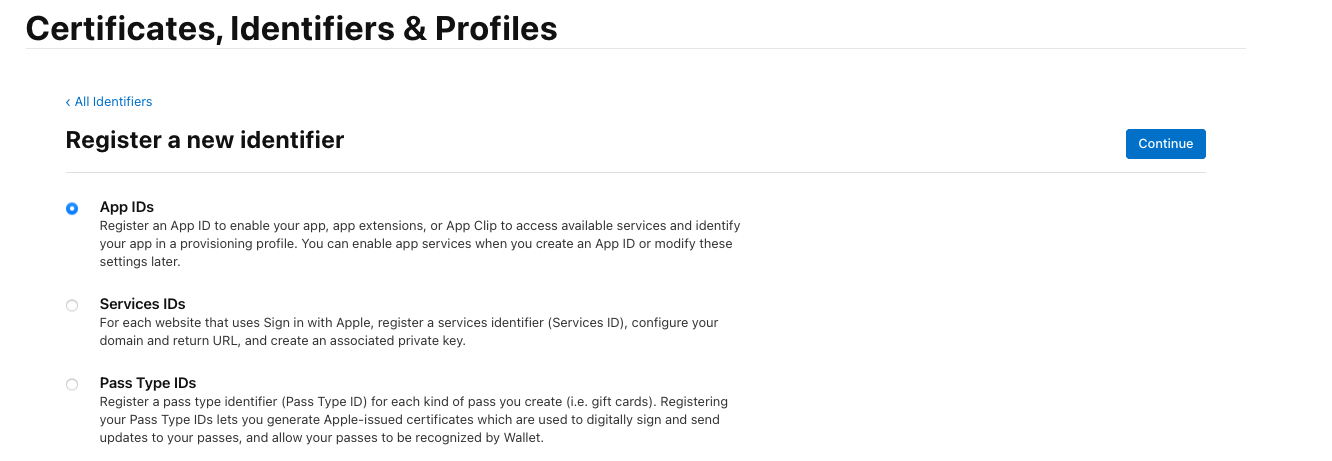
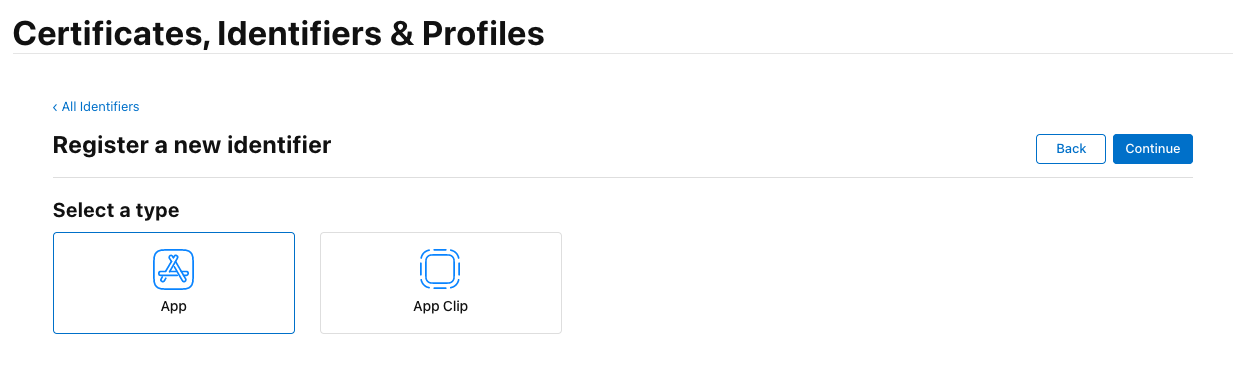
When prompted to register a new identifier select the App IDs option and click continue, on the second step select the type App and again click continue.
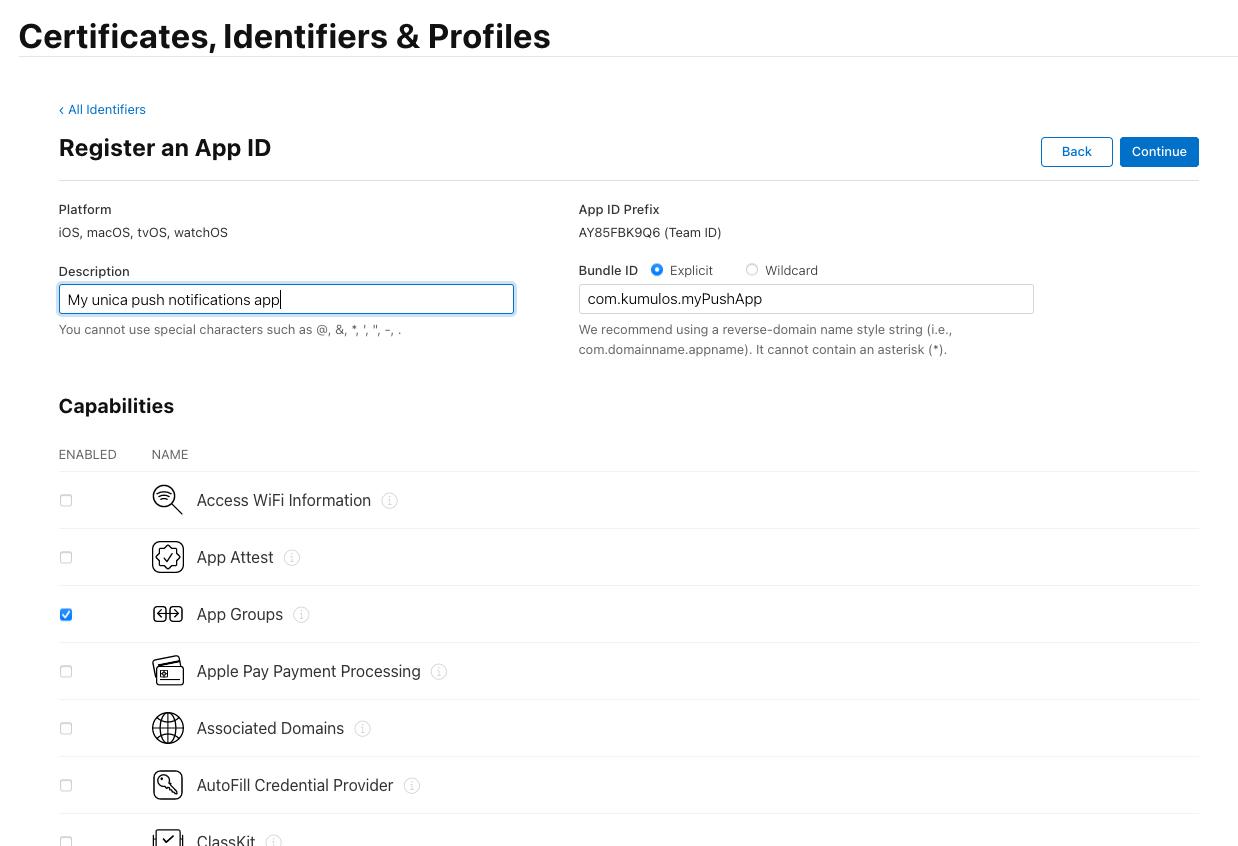
On the final step you must configure your Bundle ID and Capabilities, your bundle ID will usually follow the standard of com.[organisation name].[app name] for example "com.kumulos.myPushApp", select the 'Explicit' radio button and enter your fully qualified bundle ID.
In the Capabilities section ensure that the "App Groups" and "Push Notifications" checkboxes are checked, then press continue.
The final form step will repeat your details for confirmation, if everything is correct then click "Register"
Create an App Group
Again in the Identifiers list click the + icon to register a new identifier, select the App Groups radio button and click 'Continue', your App Group identifier must follow the convention group.{your.bundle.identifier}.kumulos, following our example bundle ID this would be "group.com.kumulos.myPushApp.kumulos". Click continue, and on the final screen if all details are correct click "Register"

Link the App Group to your App ID
From the Identifiers list click on your AppID for the appropriate bundle identifier, you can also filter the list to only App ID types using the filter at the top right.
From the "Edit your AppID Configuration" screen click the "Configure" button next to the "App Groups" capability, in the popup window check the box next to the group created in the previous step with the matching bundle ID and then click "Continue", the text next to "App Groups" in the configuration screen should now read "Enabled App Groups (1)", click Save.
Create APNS certificates
In order to send push notifications to iOS devices with Unica, you'll need to create certificates in the Apple Developer Member Center in order to register the credentials with your Unica App.
At the end of this step you will have a passphrase secured .p12 file for adding to the Unica App.
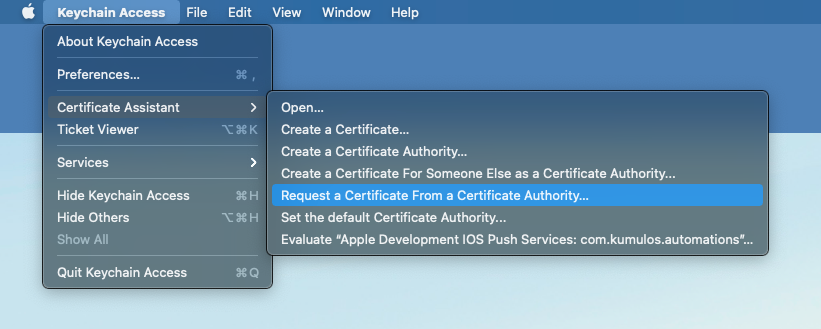
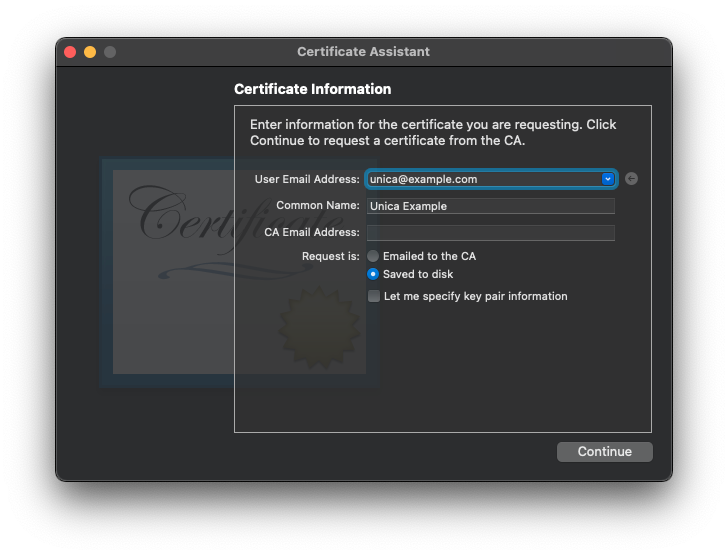
First we will create a certificate signing request, using Keychain Access. Access the Keychain Access menu from your toolbar and select Certificate Assistant, Request a Certificate From a Certificate Authority.
In the dialog window enter your email in the 'User Email Address' field, your name should already appear in the 'Common Name' field. Select the 'Saved to disk' radio button and click 'Continue', save the file to your disk for use later.
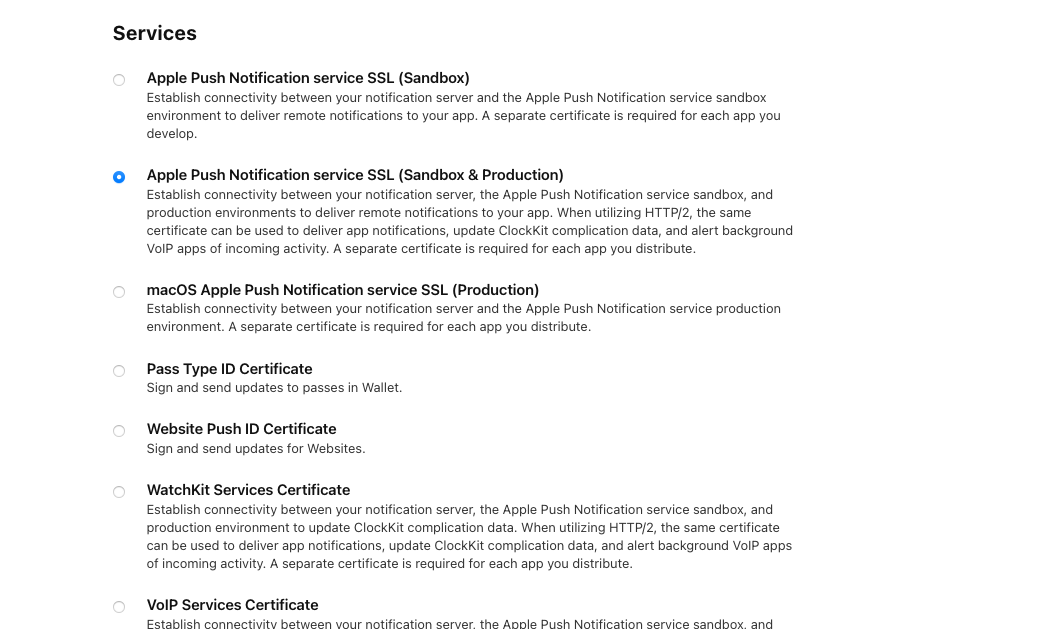
Next, access your Apple Developer account and select 'Certificates, Identifiers & Profiles' on the Certificates screen click the blue + button at the top, on the 'Create a New Certificate' screen scroll to 'Services' and select 'Apple Push Notification service SSL (Sandbox & Production)', click Continue.
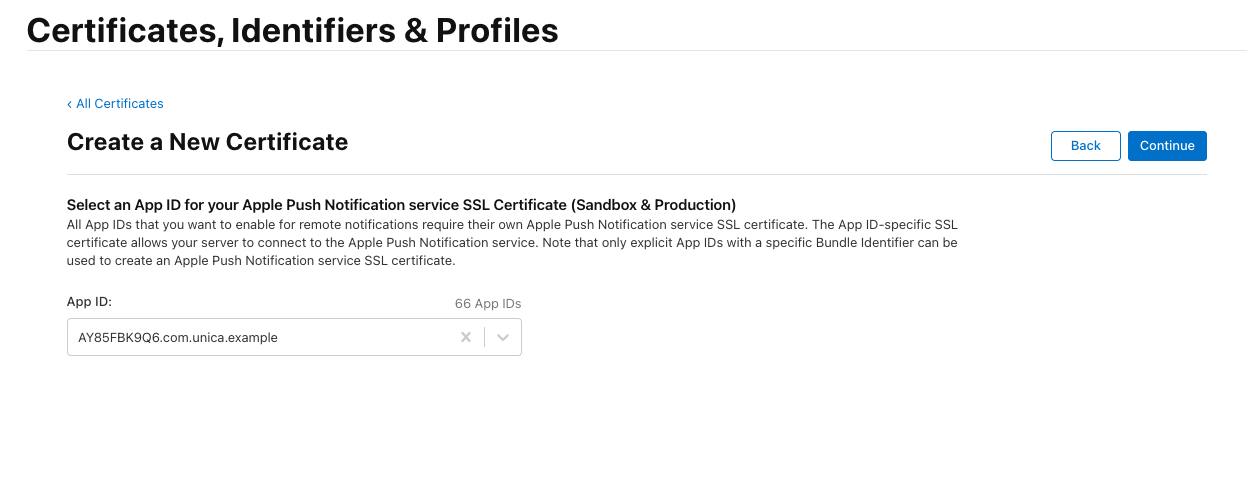
On the next screen select the App ID created during the getting started process and click Continue.
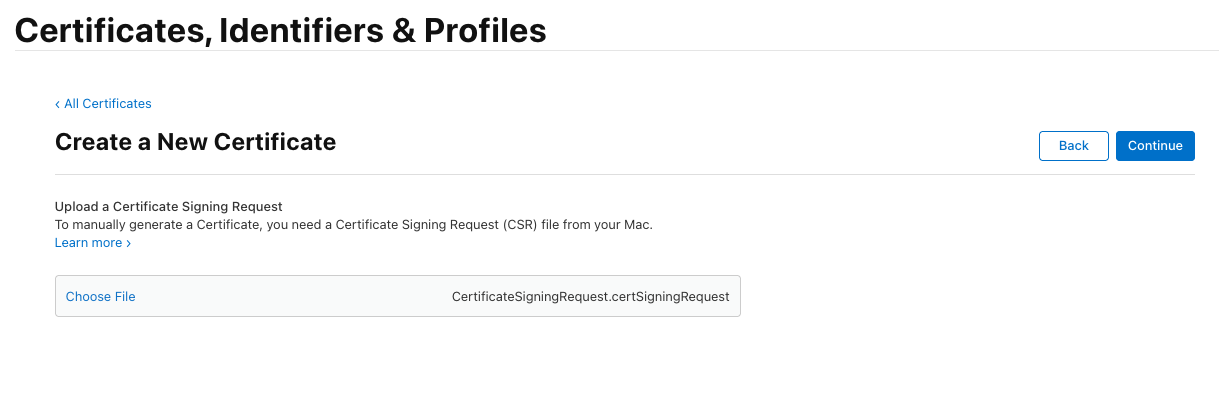
When you are prompted to upload a Certificate Signing Request, click Choose File and find then select the certSigningRequest file created earlier, click Continue.
On the final step you will be presented with a screen confirming all the details selected so far, click the Download button.
This will save a .cer file to your local disk, double click on the file to add it to your Keychain Access.
You can filter the results of your keychain by using the text filter at the top right. Once you have found the item matching the Kind 'certificate' with the name 'Apple Push Services [your bundle ID]' right click the item and select 'Export'.
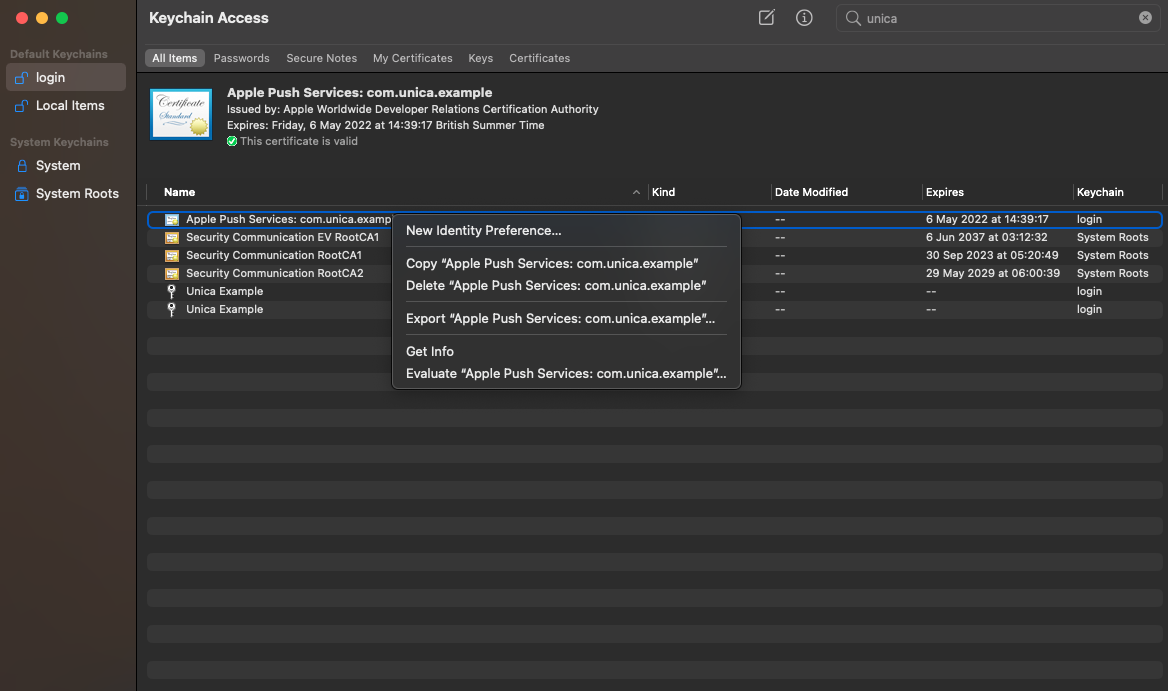
In the new window make sure the selected File Format is 'Personal Information Exchange (.p12)' and choose a location to save the file, when you click 'Save' you should be prompted for a password to protect the exported items, enter one and verify.
You will require the passphrase and .p12 file to configure your Unica App backend.
Configure Firebase Cloud Messaging
In order to send messages to your Android users with Unica you'll need to create a Firebase app and configure it for Firebase Cloud Messaging.
In this step we will generate several artifacts used to configure both the Unica App and your Android app project, these are:
- Google Services Json file
- Google Services Account Json file
- Server key
First sign into your Firebase Console and select 'Add project' and enter your Project name in the wizard, you can opt in or out to Google Analytics for your project, it will not affect the integration.
Finally the firebase console will create your app, once the setup process has finished click Continue.
Next we will add an Android app to the Firebase project, from the project overview screen click the configuration cog next to 'Project Overview' and click 'Project settings'
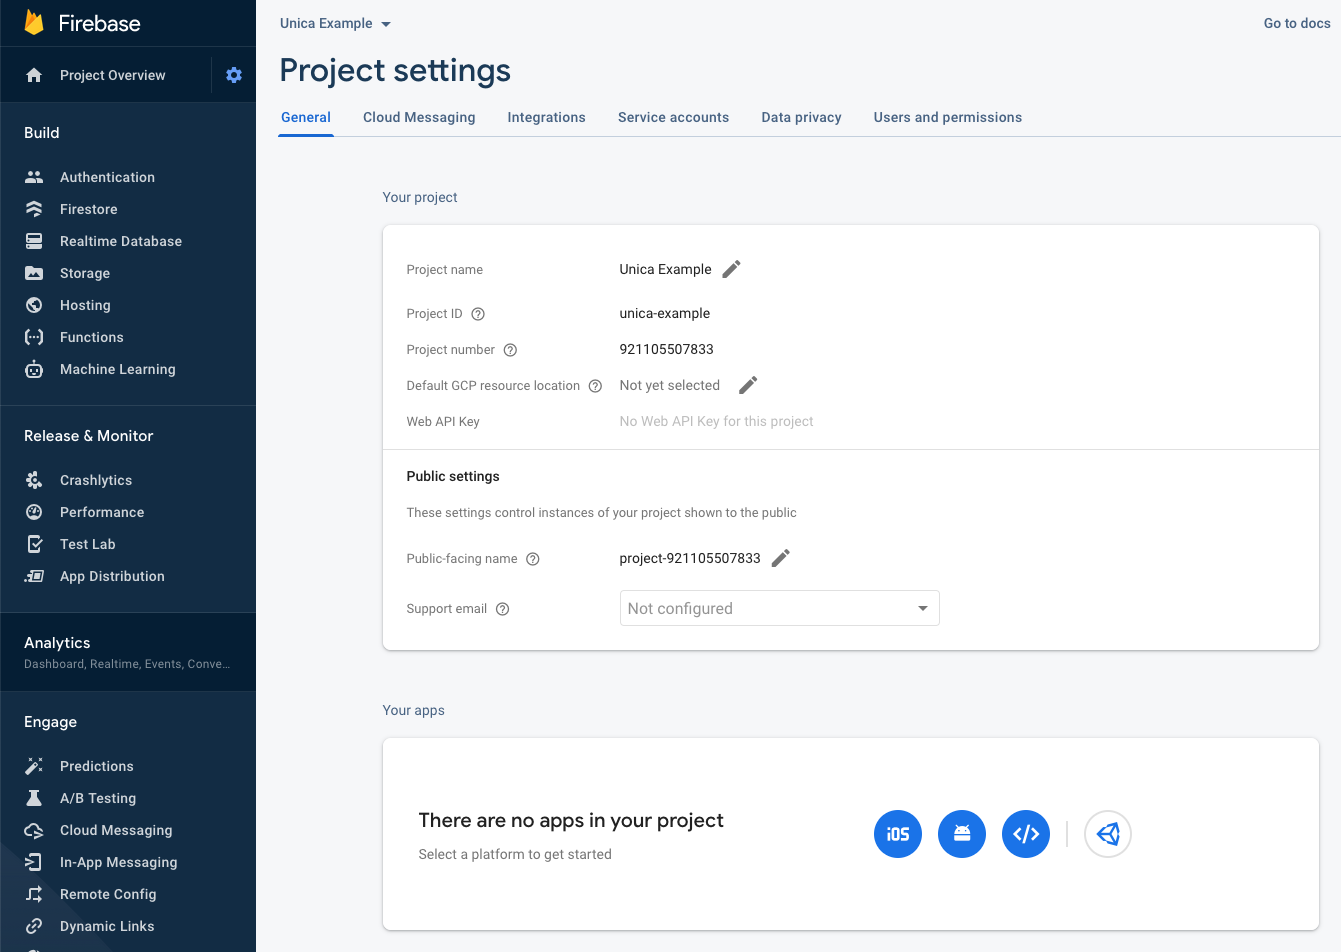
In the 'General' tab in the 'Your Apps' panel, click the icon for Android, this will open the wizard to create the app.
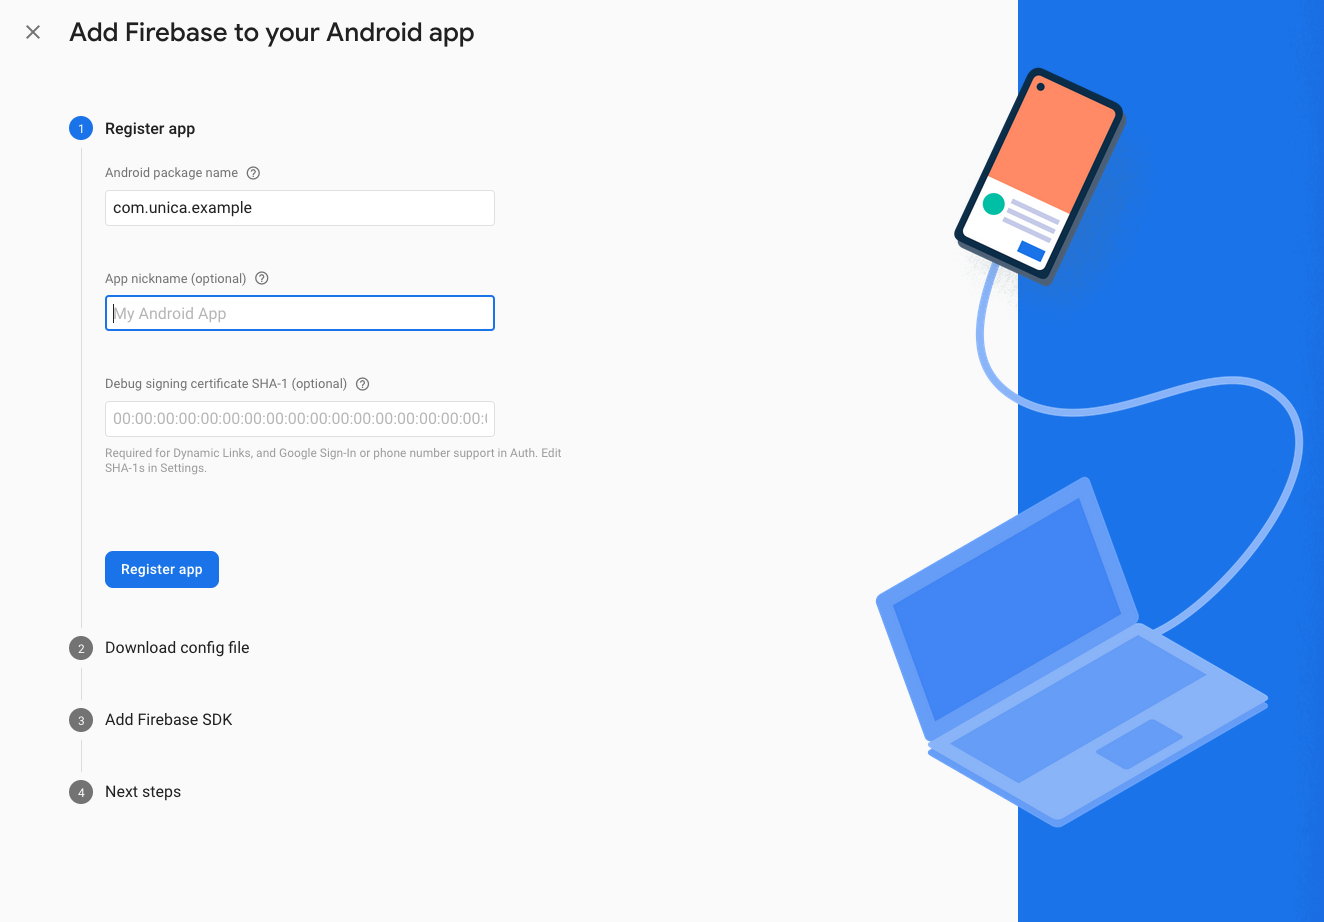
Enter your app's Package name in the top window, and click 'Register app', this will automatically download the Google Services Json which will be used later during the SDK integration with your android project.
Select the cloud messaging tab and copy the Server key for reference later, this will be used to configure the Unica App.
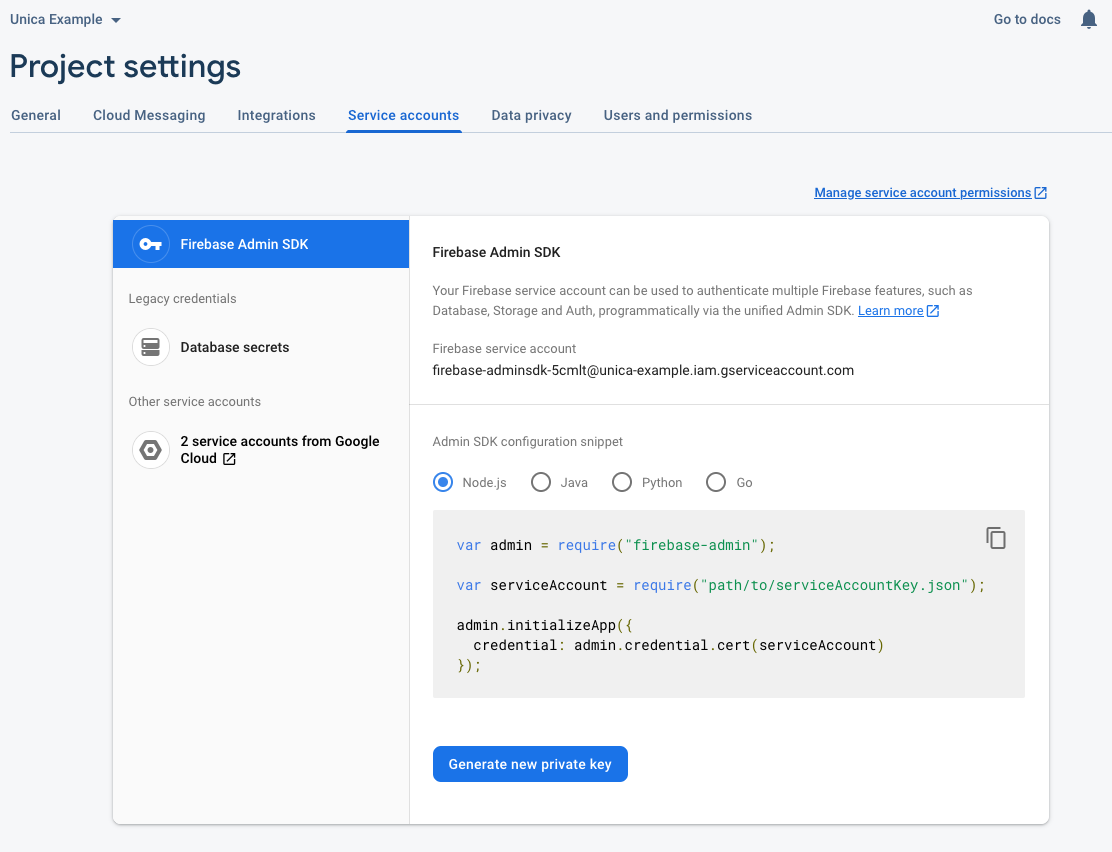
Next, click the 'Service Accounts' tab and click 'Generate new private key' this will download a JSON file describing your account credentials, this will also be used to configure your Unica app.
You will require both the Service Accounts JSON file and the Server key to configure your Unica App backend.
Configure your Unica app
TBC: Using the google services account JSON + server key and the .p12 + passphrase generated in previous steps, configure the Unica App.
Integrate the SDK
Select the appropriate SDK for your selected development platform